Setting Up Server
Installing aaPanel
The first step is to install aaPanel on your VPS server.
You can use another control panel, but we recommend using aaPanel because it makes installing and managing the Vibe Web application easier.
Step 1 — Get the Installation Script
Go to the aaPanel download page:
https://www.aapanel.com/new/download.html
Copy the aaPanel Free Edition installation script.
As of March 22, 2026, the script is:
URL=https://www.aapanel.com/script/install_panel_en.sh && if [ -f /usr/bin/curl ];then curl -ksSO $URL ;else wget --no-check-certificate -O install_panel_en.sh $URL;fi;bash install_panel_en.sh mdestafadilah
Note: This script may change in the future, so it is recommended to always check the official download page for the latest version.
Step 2 — Connect to Your VPS Server
You need to connect to your server terminal using SSH.
You can connect using:
- PuTTY (Windows)
- Web-based terminal provided by your hosting provider
Many VPS providers such as DigitalOcean, Hostinger, and others provide a built-in web terminal in their dashboards.
If you are using Windows, you can follow this guide on how to install and use putty:
https://medium.com/@getstaked/how-to-connect-your-vps-via-ssh-by-using-putty-ac87c40999a5
Step 3 — Install aaPanel
- After connecting to your VPS terminal, paste the aaPanel installation script.
- Press Enter to run the script.
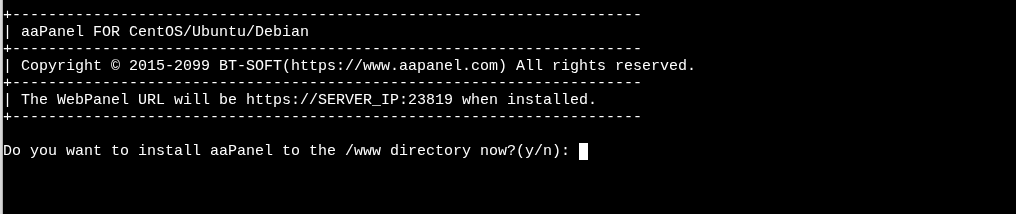
During installation, aaPanel may ask the following question:
Do you want to install aaPanel to the /www directory now?(y/n)
Type:
y
and press Enter.
Step 4 — Save Your aaPanel Login Details
The installation will begin and automatically install all required components.
After installation is complete, aaPanel will display your login details, including:
- Login URL
- Username
- Password
Make sure to copy and save these details somewhere safe, as you will need them to access your aaPanel dashboard.
aaPanel Login and Server Setup
Step 1 — Log in to aaPanel
- Open the aaPanel login link that was generated during installation in your web browser.
- Enter the username and password provided at the end of the installation.
- Click Login to access the aaPanel dashboard.
Step 2 — Install Nginx
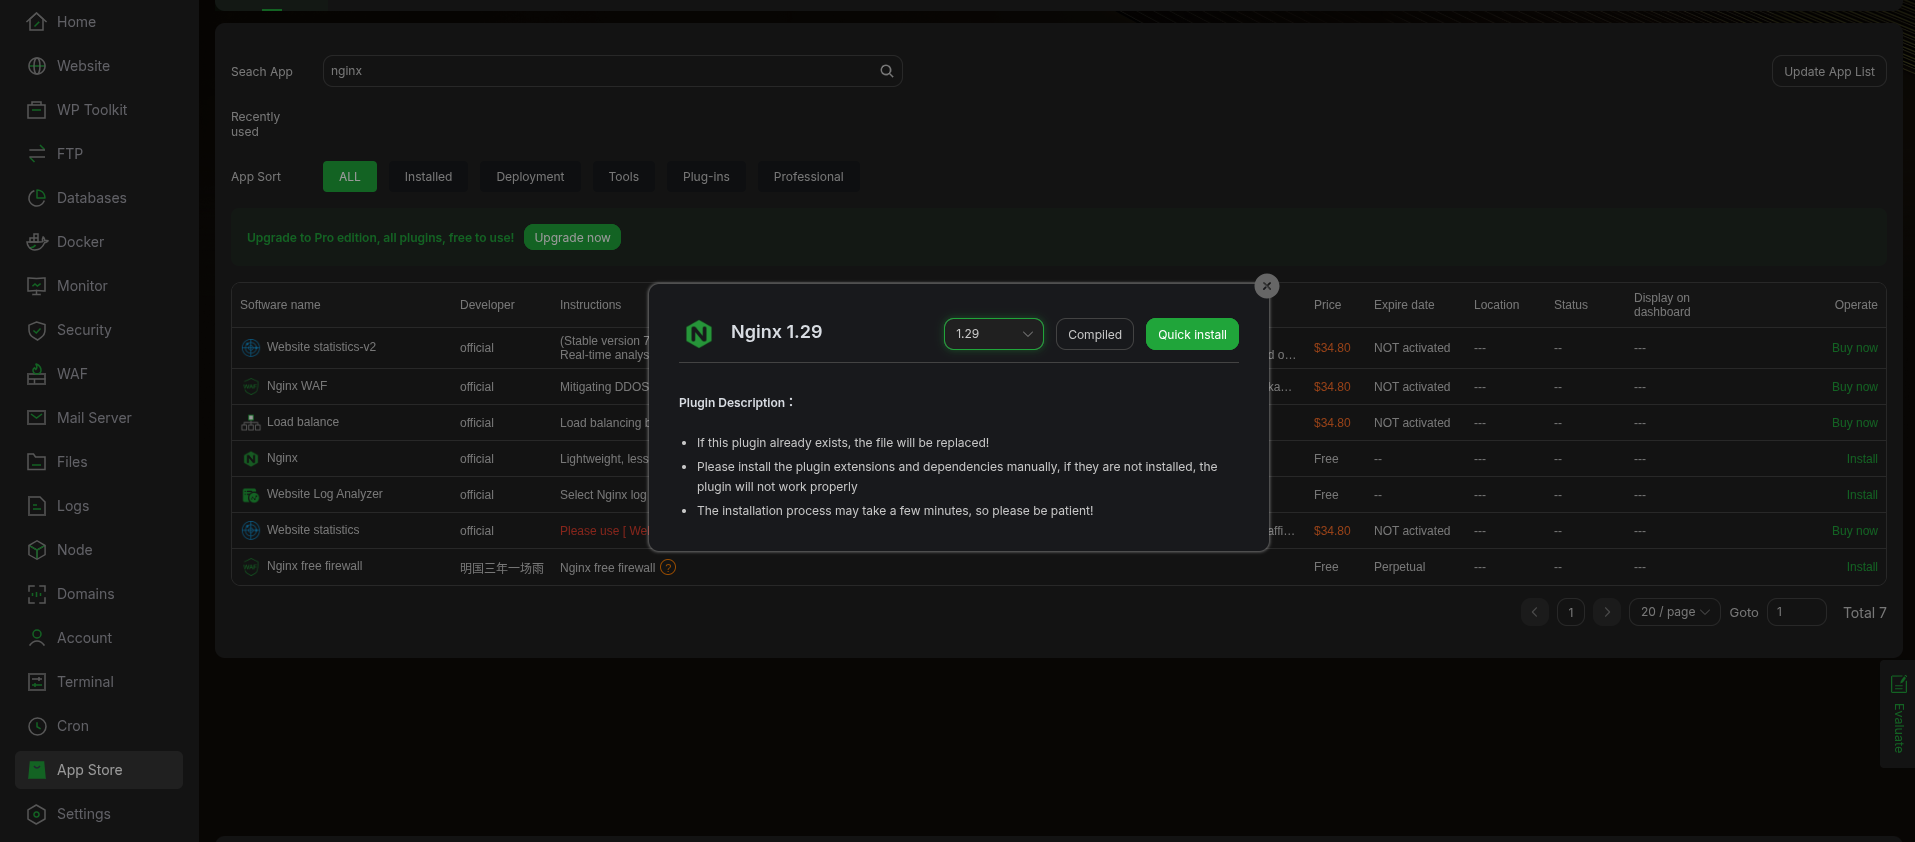
- From the aaPanel sidebar, click App Store.
- Search for Nginx.
- From the version dropdown, select:
1.29
- Click Install.
- Wait a few minutes until the installation completes.
Once the installation finishes, proceed to the next step.
Step 3 — Install Node.js and npm
Open the aaPanel Terminal from the sidebar, or connect to your server via SSH (PuTTY).
Run the following commands step by step.
Install NVM
# Download and install NVM
curl -o- https://raw.githubusercontent.com/nvm-sh/nvm/v0.40.4/install.sh | bash

# Load NVM without restarting the shell
\. "$HOME/.nvm/nvm.sh"
Install Node.js
# Install Node.js
nvm install 24

# Verify Node.js version
node -v
# Expected output: v24.14.0

# Verify npm version
npm -v
# Expected output: 11.9.0
Step 4 — Install Docker
Run the following commands step by step.
Remove Conflicting Packages
sudo apt remove $(dpkg --get-selections docker.io docker-compose docker-compose-v2 docker-doc podman-docker containerd runc | cut -f1)
Set Up Docker APT Repository
# Update package index
sudo apt update

# Install required dependencies
sudo apt install ca-certificates curl

# Create keyrings directory
sudo install -m 0755 -d /etc/apt/keyrings

# Download Docker’s official GPG key
sudo curl -fsSL https://download.docker.com/linux/ubuntu/gpg -o /etc/apt/keyrings/docker.asc

# Set read permissions
sudo chmod a+r /etc/apt/keyrings/docker.asc
Add the Docker repository:
sudo tee /etc/apt/sources.list.d/docker.sources <<EOF
Types: deb
URIs: https://download.docker.com/linux/ubuntu
Suites: $(. /etc/os-release && echo "${UBUNTU_CODENAME:-$VERSION_CODENAME}")
Components: stable
Signed-By: /etc/apt/keyrings/docker.asc
EOF
Update the package index again:
sudo apt update
Install Docker Packages
sudo apt install docker-ce docker-ce-cli containerd.io docker-buildx-plugin docker-compose-plugin
Step 5 — Verify Docker Installation
Check if Docker is running:
sudo systemctl status docker
If Docker is not running, start it with:
sudo systemctl start docker
Step 6 — Test Docker Installation
Verify that Docker is installed correctly by running the hello-world container:
sudo docker run hello-world
If everything is installed correctly, Docker will download the hello-world image and print a success message.