Installing Deployer
Deployment Setup for User Websites
Vibe Web provides two options for hosting user-created websites:
- Netlify (Simpler setup)
- Custom Server (More control, slightly complex)
You can choose either option depending on your needs.
Option 1 — Deploy Using Netlify (Recommended for Simplicity)
Follow these steps to configure Netlify deployment.
Step 1 — Create a Netlify Account
Create a free account:
https://app.netlify.com/signup
Step 2 — Generate an Access Token
Go to the Netlify applications page:
https://app.netlify.com/user/applications
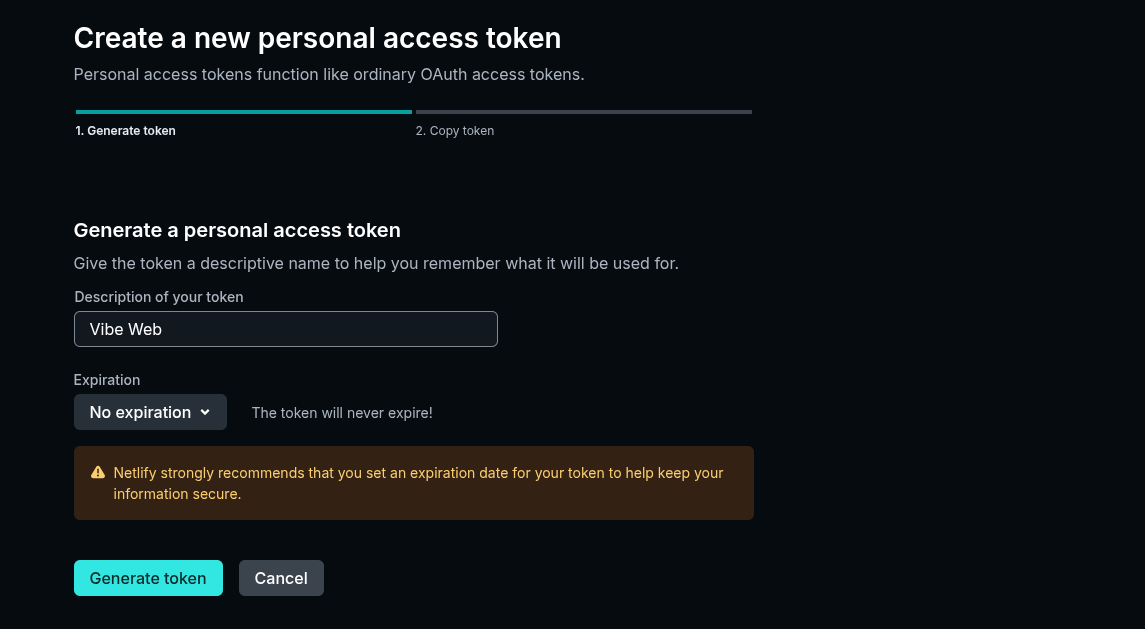
- Click New Access Token
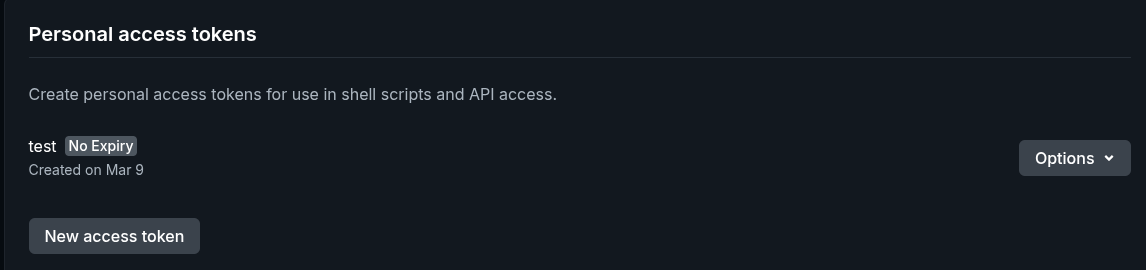
- Enter a name for the token
- Set Expiration to:
No Expiration
- Click Generate Token
- Copy the generated token.
Remember, netlify deployment costs netlify credits, on free account they give upto 300 credits. For more information, please visit : https://www.netlify.com/pricing/
Step 3 — Add Token in Admin Panel
Go to your Admin Panel and open:
Admin → Settings → Deployment Configuration
- Set Deployment Target to:
Netlify
- Paste the Access Token
- Click Save
Your system will now deploy user projects automatically to Netlify.
Option 2 — Deploy Using Your Own Server
If you want to host user sites on your own VPS, follow the steps below.
Step 1 — Upload Deployer Files
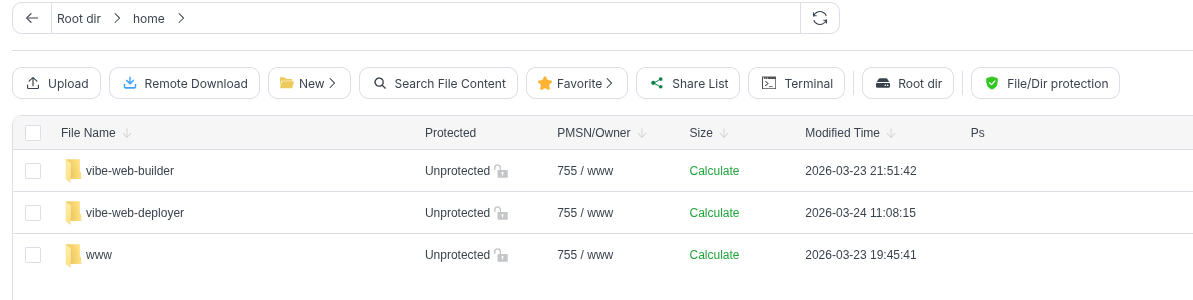
- Open Files from the aaPanel sidebar.
- Clear everything from the file manager address bar.
- Type:
/home
Press Enter.
Click New and create a folder named:
vibe-web-deployer
- Upload the file:
deployer.zip
- Right-click the file and select Unzip.
Step 2 — Run the Deployer
Open Terminal in aaPanel or connect using SSH / PuTTY.
Run the following commands:
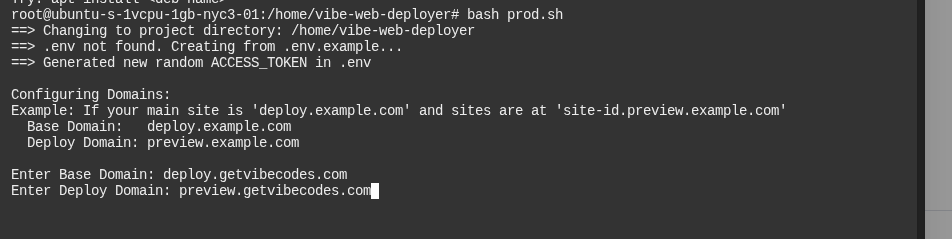
cd /home/vibe-web-deployer
Then run:
bash prod.sh
Step 3 — Choose Deployment Domains
We recommend using a secondary domain for hosting user projects.
Example:
- Main domain:
lovable.com - Deployment domain:
lovable.app
However, using the same main domain is also allowed if you prefer.
During setup, the script will ask for the following:
Base Domain
Enter:
deploy.yourdomain.com
⚠️ Do not include https://
Preview Domain
Enter:
preview.yourdomain.com
Replace yourdomain.com with your actual domain.
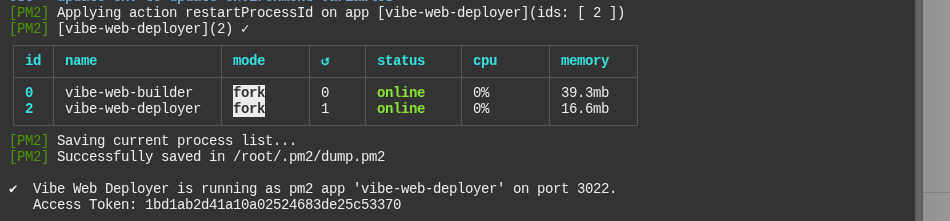
Step 4 — Start the Deployment Server
After entering the domain values, the script will start the Node.js deployment server.
When setup finishes, it will generate an Access Token.
Copy this token.
Step 5 — Configure Admin Panel
Go to:
Admin → Settings → Deployment Configuration
- Set Deployment Target to:
Custom Server
- Set Custom Server URL:
deploy.yourdomain.com
- Paste the Access Token generated by the deployer.
- Click Save.
In the next step, we will learn how to connect domain with custom deployer and install ssl.